> Please install the Elementor Website Builder plugin by Elementor.com to your WordPress admin panel
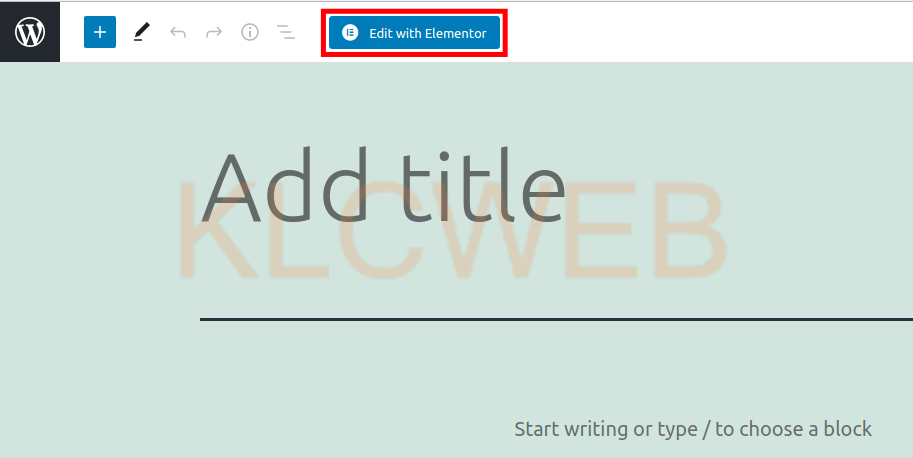
> Please create a new page or post
> Please click on the Edit with Elementor button on top, when the editor opens
>It will take a few moments to load out after you will have the elementor toolbar at the left side
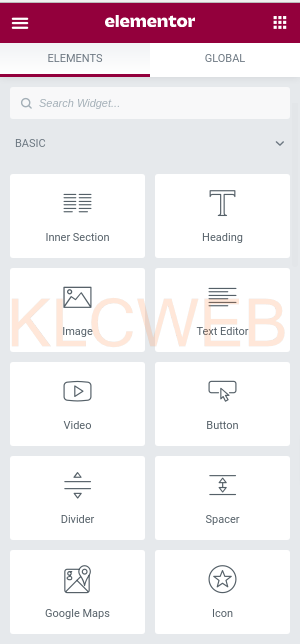
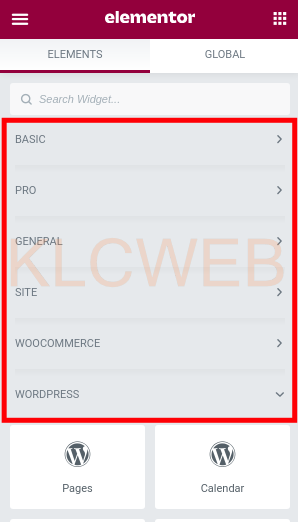
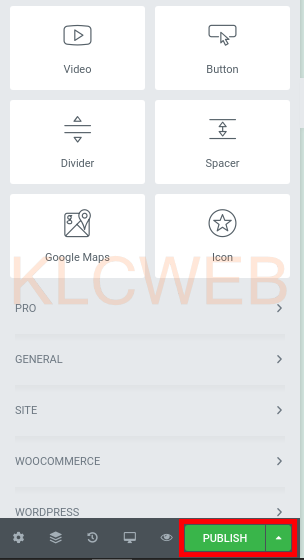
> You can then choose the widget at the left toolbar. Please choose from the following sections included in the free version: Basic, General, Site, WooCommerce, or WordPress
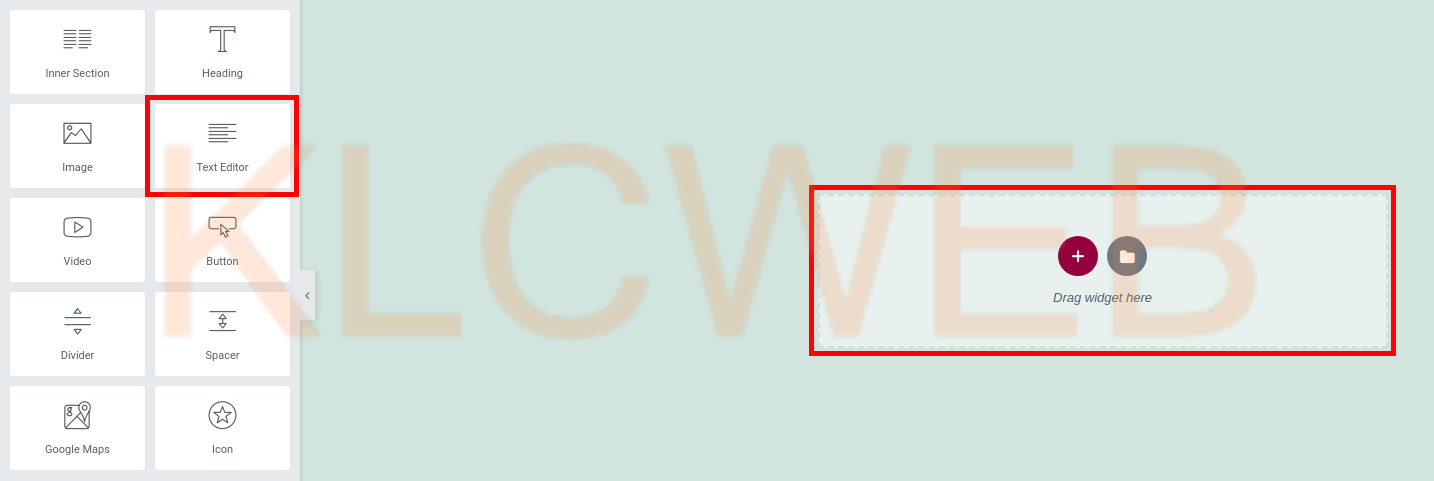
> You can drag and drop widgets at the area titled Drag widget here
> You will see the available options listed on the left side, once a widget has been added to the page.
> Please choose your settings,

> There will be the Content, Style, and Advanced tabs you can switch. Each tab will give you additional options to choose

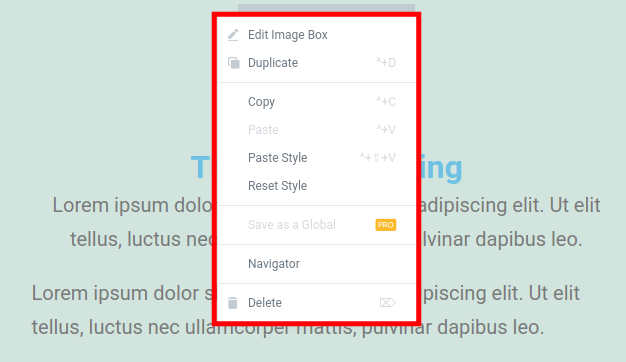
> Please right-click a widget once it has been added to a page for more options
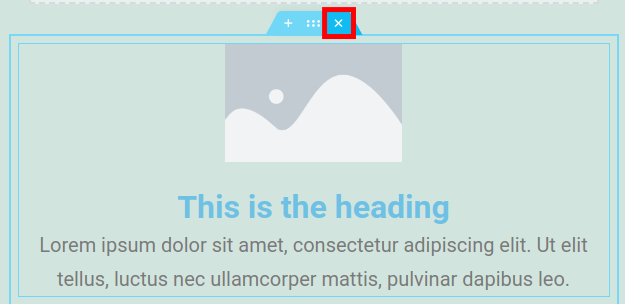
> Please click on the X in the top bar to delete a widget which is already been added
> The center button in the header will allow you to drag
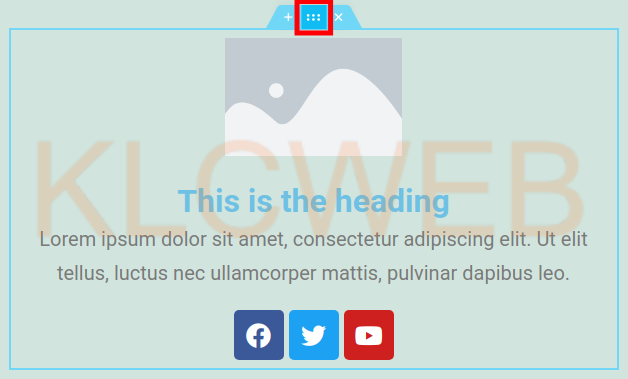
> Ant the plus button will add a new blank widget area
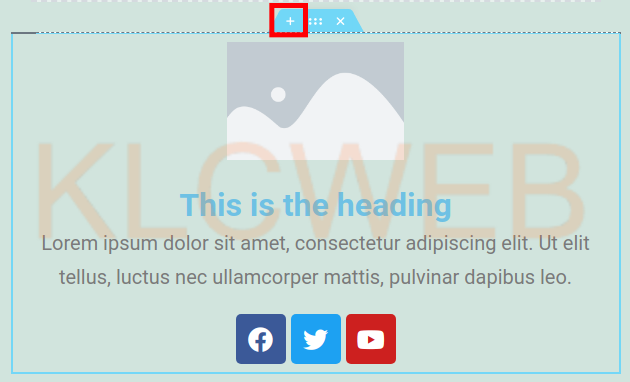
> If you want to remove please click on the X button

> Please click on the widgets button to return to the main widgets listing section

> You can choose these options: Settings, History, Responsive Mode, Navigator, and Preview Changes from the bottom of the widgets toolbar

> Please Click on the Publish button at the bottom of the widget menu to save
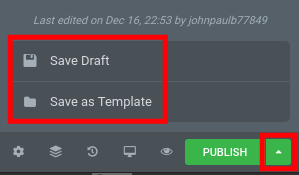
> Please click on the arrow next to the Publish button to Save as a Draft or Template.
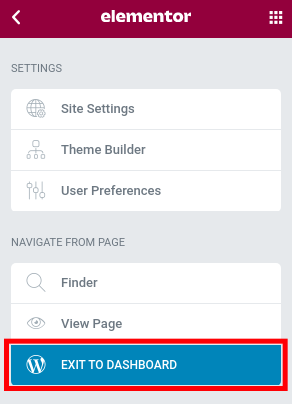
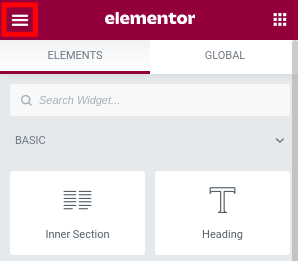
> To go back to your main WordPress admin panel, please click on the menu link at the top left of the Elementor
> After you can please click on the Exit to Dashboard